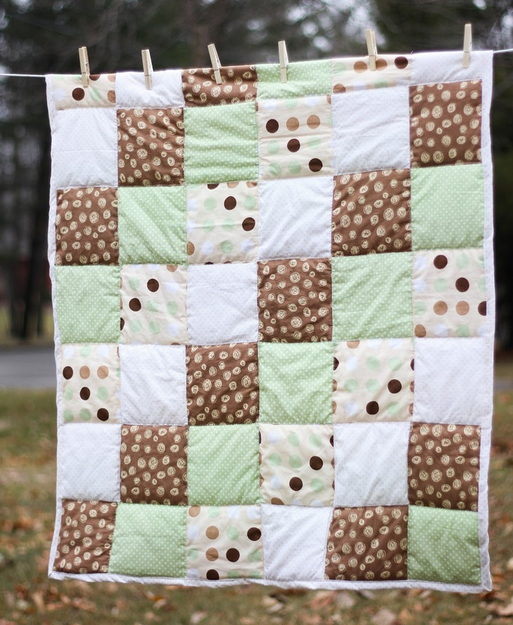
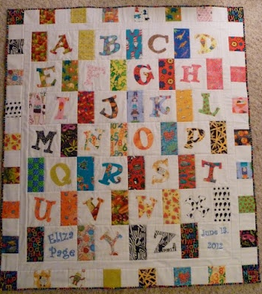
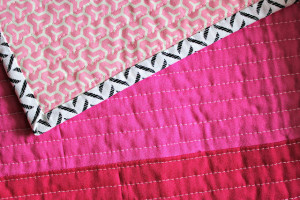
1. JoyAnn’s First Strip Quilt
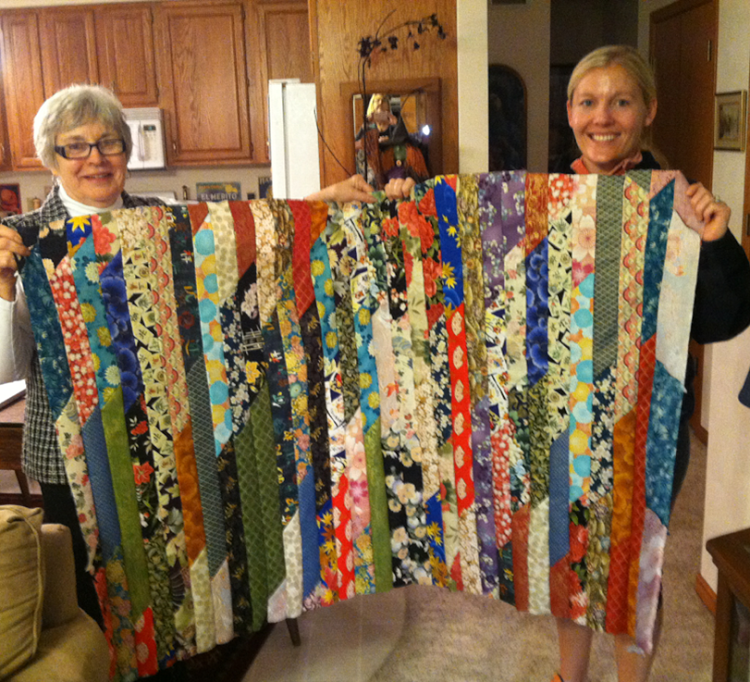
Joy’s 1600 quilt
This picture right here is a quilt posted from one of our app users JoyAnn (on the right) with her Grandmother-In-Law and her quilt top pieced in less than a day! This kind of quilt is perfect for any beginner or regular quilters looking to a make beautiful quilt that is easy to do while gaining more practice. What also makes this a fun first quilt to make is all the different kinds of colors that you can incorporate into the design. Simply get the right measurements and pick out your favorite patterns!
Here is what you need:
1. (40) 2 1/2 ” strips of fabric
2. Backing and batting for 48″ x 64″ quilt (about 3 yards of 42″ wide fabric)
3. Binding (about 1/2 yard)
This is constructed the same as when using the pattern for JoyAnn’s 1600 quilt. The instructions can be found in the Gallery Library. Sew all the strips together, end to end, making one long strip. Then fold the long strip in half right sides together (short end to short end) and stitch along the side using a 1/4″ seam. Then cut the fold as you approach the end of the seam. Continue to repeat this process four more time. Your Quilt will be approximately 48″ x 64″. Then finish it as you wish.
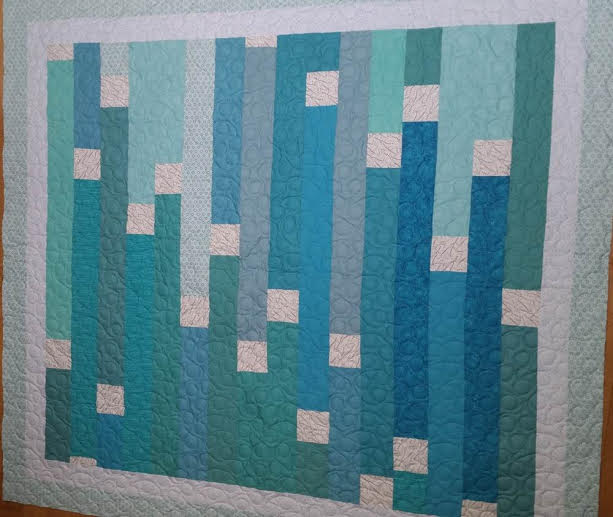
Larger 1600’s Quilt
This quilt with the different shades of blue with white is similar to the quilt above but is a bit larger and has white squares added into the design that are placed in between the lines.
2. Simple Rag Quilt
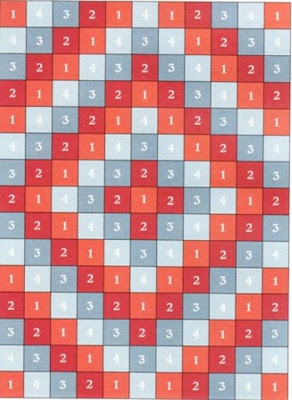
Biscuit Quilts – Rag Quilt Pattens
This kind of quilt is easy and fun to make for beginners. A simple rag quilt is often a four patch sewn with four different kinds of fabric that varies in colors and patterns. Use the numbering of the pattern to help follow the design as you make your quilt. However, there are different ways to make this kind of quilt depending on one’s own preference. Always be creative and have fun!
For more information on this quilt and instructions on how to make it click here.
3. Pinwheel Quilt
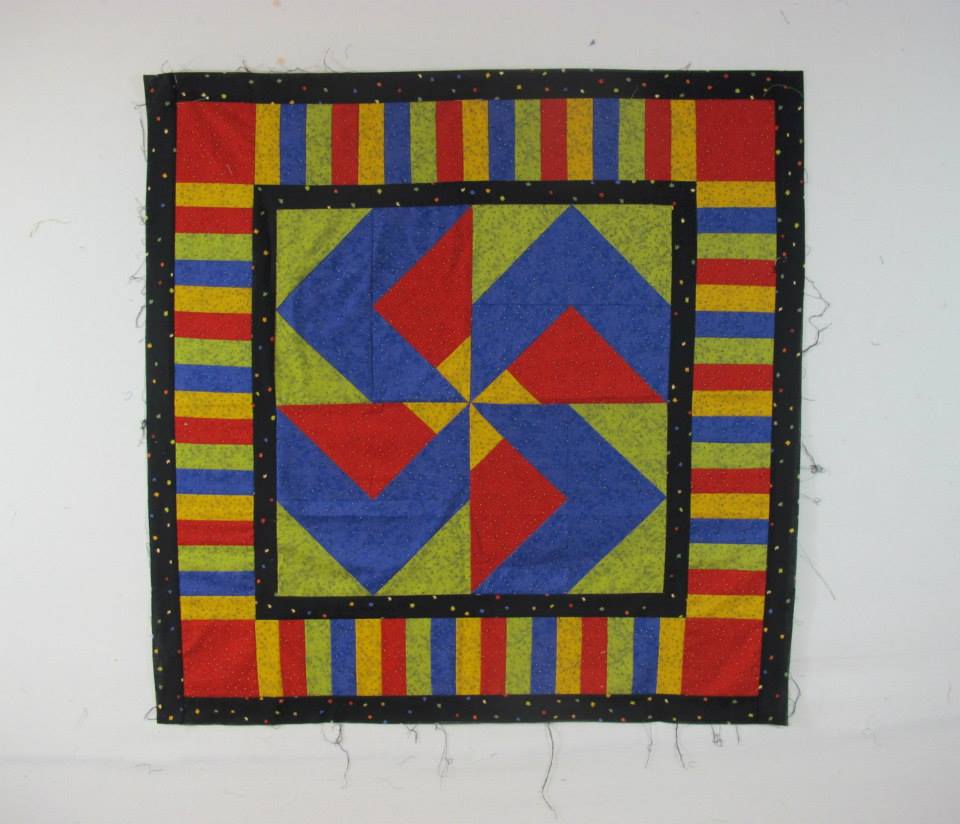
Colorful Pinwheel
It is easier if you start by picking a pinwheel pattern such as this one in this image above. Having the pinwheel be bigger, take up more space, and be less complex will make it easier for you to cut, stitch and complete than if the pattern had multiple smaller pinwheels. Once you have tackled this type of quilt then try making a more complicated pinwheel quilt for practice.
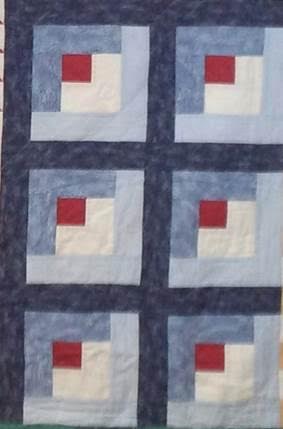
4. Log Cabin Quilt
Log Cabin Block Pattern
A log cabin quilt is also a great quilt to make as a beginner and is also a traditional quilt pattern. Notice how the pieces go in a clockwise motion and the pieces start out small in the middle then getting bigger as they move out away from the center. This is also a great way to practice piecing together blocks. It is also important to remember that there are different types of of log cabin patterns so simply pick one that seems easy to you and go for it! Here is another image of a Log Cabin quilt below.
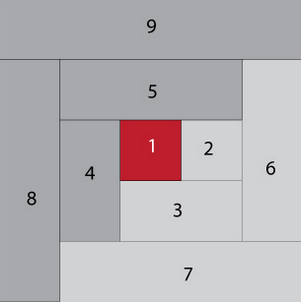
5. Quick Corner Quilting
Quick Corners Quilt
This technique is the best for a beginner who wants to make a quilt that incorporates triangles in the pattern. However, triangles are normally not a first good choice as a beginner to try out because the triangle shape can be a little more tricky to accomplish than straight line quilts. First try making one of the other quilts above and then try advancing to making this kind of quilt.
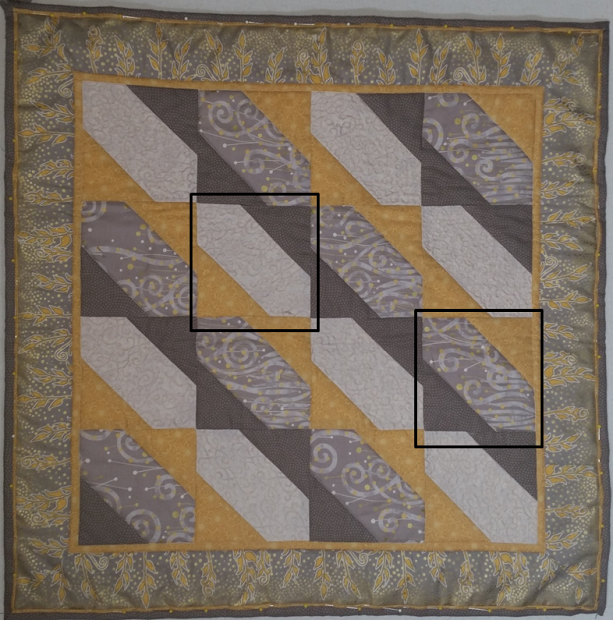
Quick Corners Technique
You can see the technique a little better in this image with the black squares outlining the pattern in a single block design. Sometimes it is easier to see it when it is outlined this way. If you look closely the design simply switches the center in the half block and each block has two “quick corners”.
Hint: Regardless of what pattern you choose to try for the first time quilting always make sure that the pattern has clearly written instructions that you can follow. As easy as the pattern may be, if there arn’t clearly written directions you won’t get that far. Having designs that are easy to follow and read will help you when cutting fabric precisely and make it easier to match up your points of the pattern together perfectly. That is why it is important for beginners to practice making quilts that are easy to cut and stitch together first before trying techniques that are more complicated.
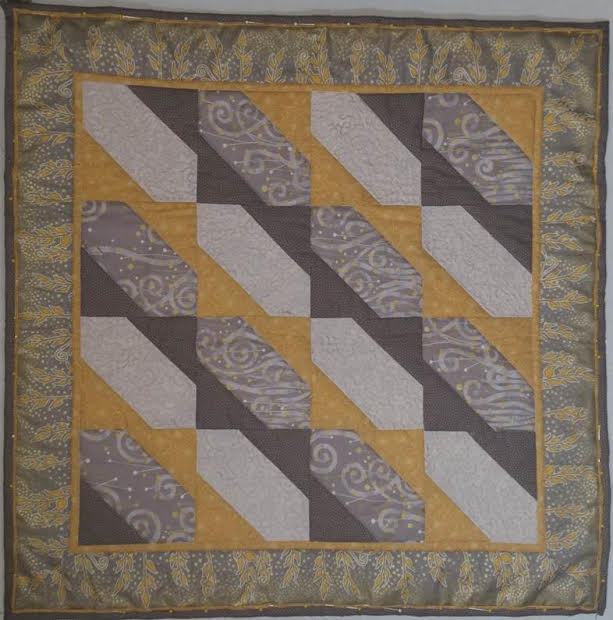
6 Butterfly Quilts
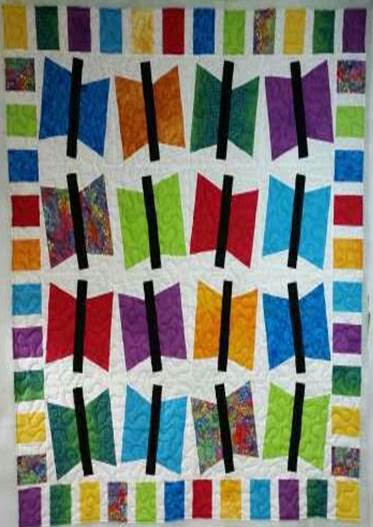

This is a photo of a single block design quilt that uses the quick corner technique in a caddy-wampus fashion to make butterfly wings. This kind of quilt is fun to make especially in the summer or spring time.
Always remember practice makes perfect, so keep on practicing your technique. Share with us on Quilter’s Thread mobile app your first quilt you made or tell us what helped you out as a beginner!
Live Well. Quilt Well.