When quilting on the go it can be difficult to bring along all the necessary tools. It can be even more difficult to pack up a hot iron to take it home. Our ironing pad and tote might be just the solution you need.
The keys to this project are the fabrics. The ironing pad/tote is lined with silver ironing board fabric, also called Therma-Flec Heat Resistant Cloth Silver Fabric. The fabric is the same that all typical ironing board covers are made from. It is woven with 100% cotton that has a unique aluminized coating that gives the ironing board a smooth and heat resistant surface. This fabric is also great for pot holders and oven mitts. If you need to clean the fabric use a damp cloth and gently rub it, then lay it out to dry.
The project is padded with Insul-Bright. This fabric is critical to this project because it keeps the heat from penetrating through the pad/carrier. Insul-Bright is a batting made by needle punching deep polyester fibers through a non-woven substrate and through a metallized reflective poly film. Insul-Bright retains its form even after washing, while the deep fibers prevent conduction and the reflective metallized poly film prevents radiant energy. This way, the heat is reflected back to its source
What you’ll need:
Materials:
- (2) copies of pattern (one for the master and one for cutting) Ironing Pad and Tote Pattern
- (1) 18” x 24”piece of fabric for outside: 18” x 24”
- (½) yard piece of contrast fabric for handles, ties and binding. Cut contrast fabric into:
- (2) 1 ¼” x width of fabric for ties and loops
- (2) 3” x 21” for handles
- (2) 1 ¼” x 21” pieces of stabilizer, batting or interfacing
- (1) 18” x 24” piece of Insul-Bright
- (1) 18” X 24” piece of Silver Ironing Board Fabric 18” X 24”
- (1) 18” x 24” piece of cotton or cotton/poly batting. (You can you use two pieces of batting, but your ironing pad will be a bit puffy.)
(Note: we actually cut each piece larger than 18” 18 x 24” and trimmed it down after seing. This way we didn’t have to worry about the pattern and layers being perfectly lined up.)
Tools:
- Basic quilting tools.
Step # 1
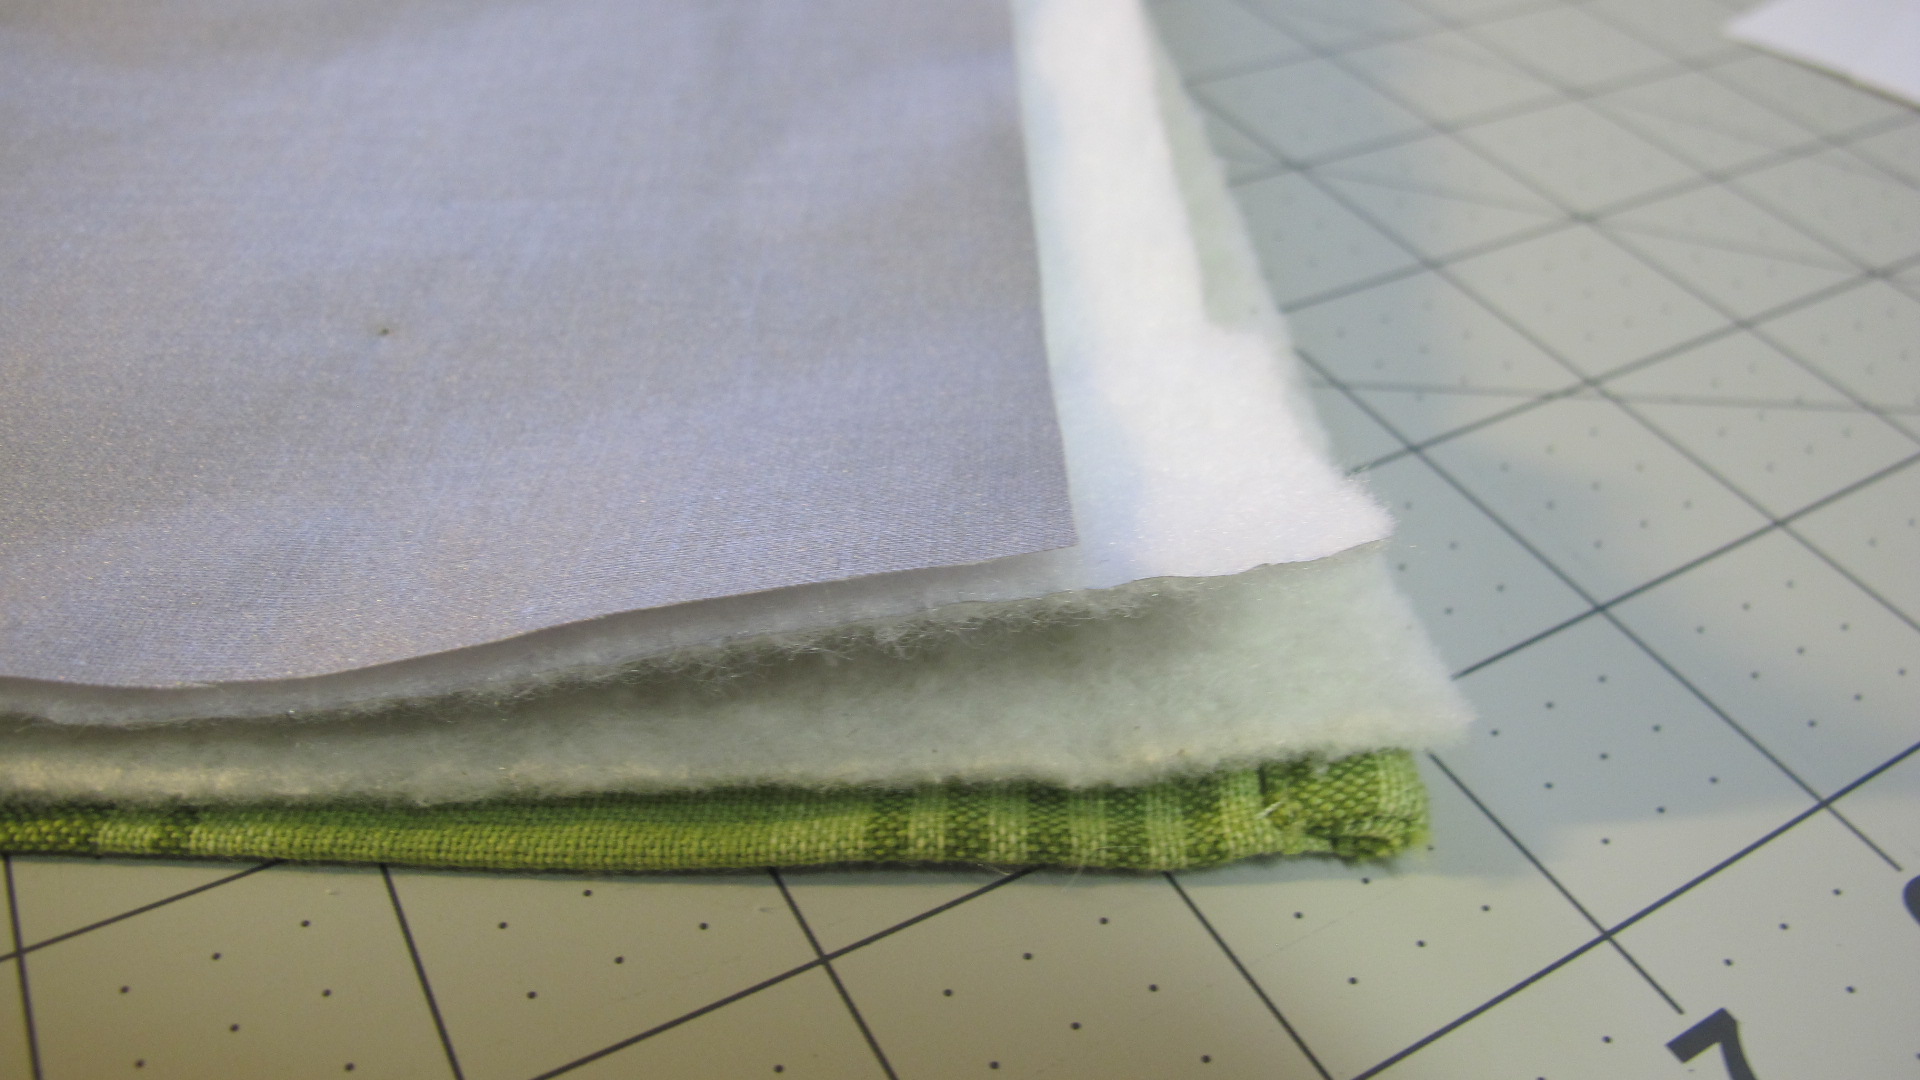
Layer the fabric in according to this order:
- Fabric (facing down)
- Batting
- Insul-Brite
- Silver Ironing Board Fabric (facing up)
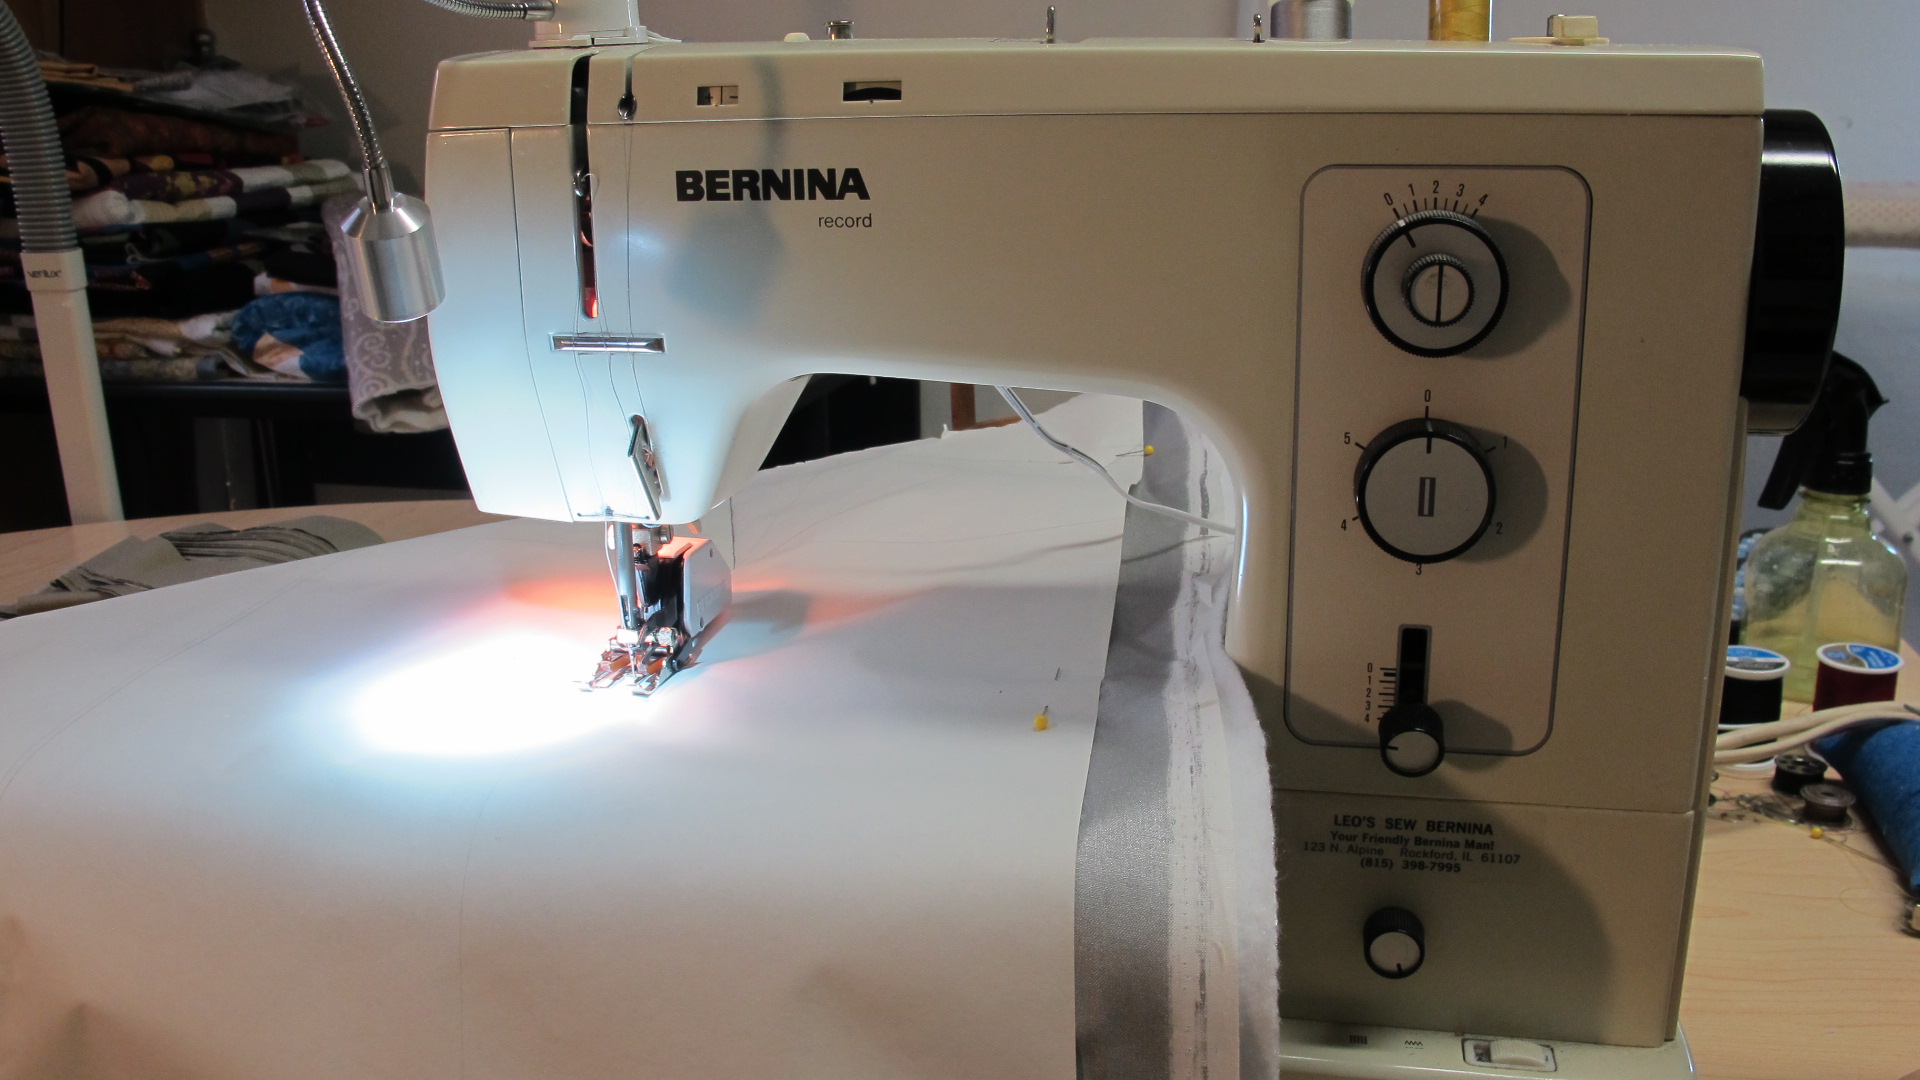
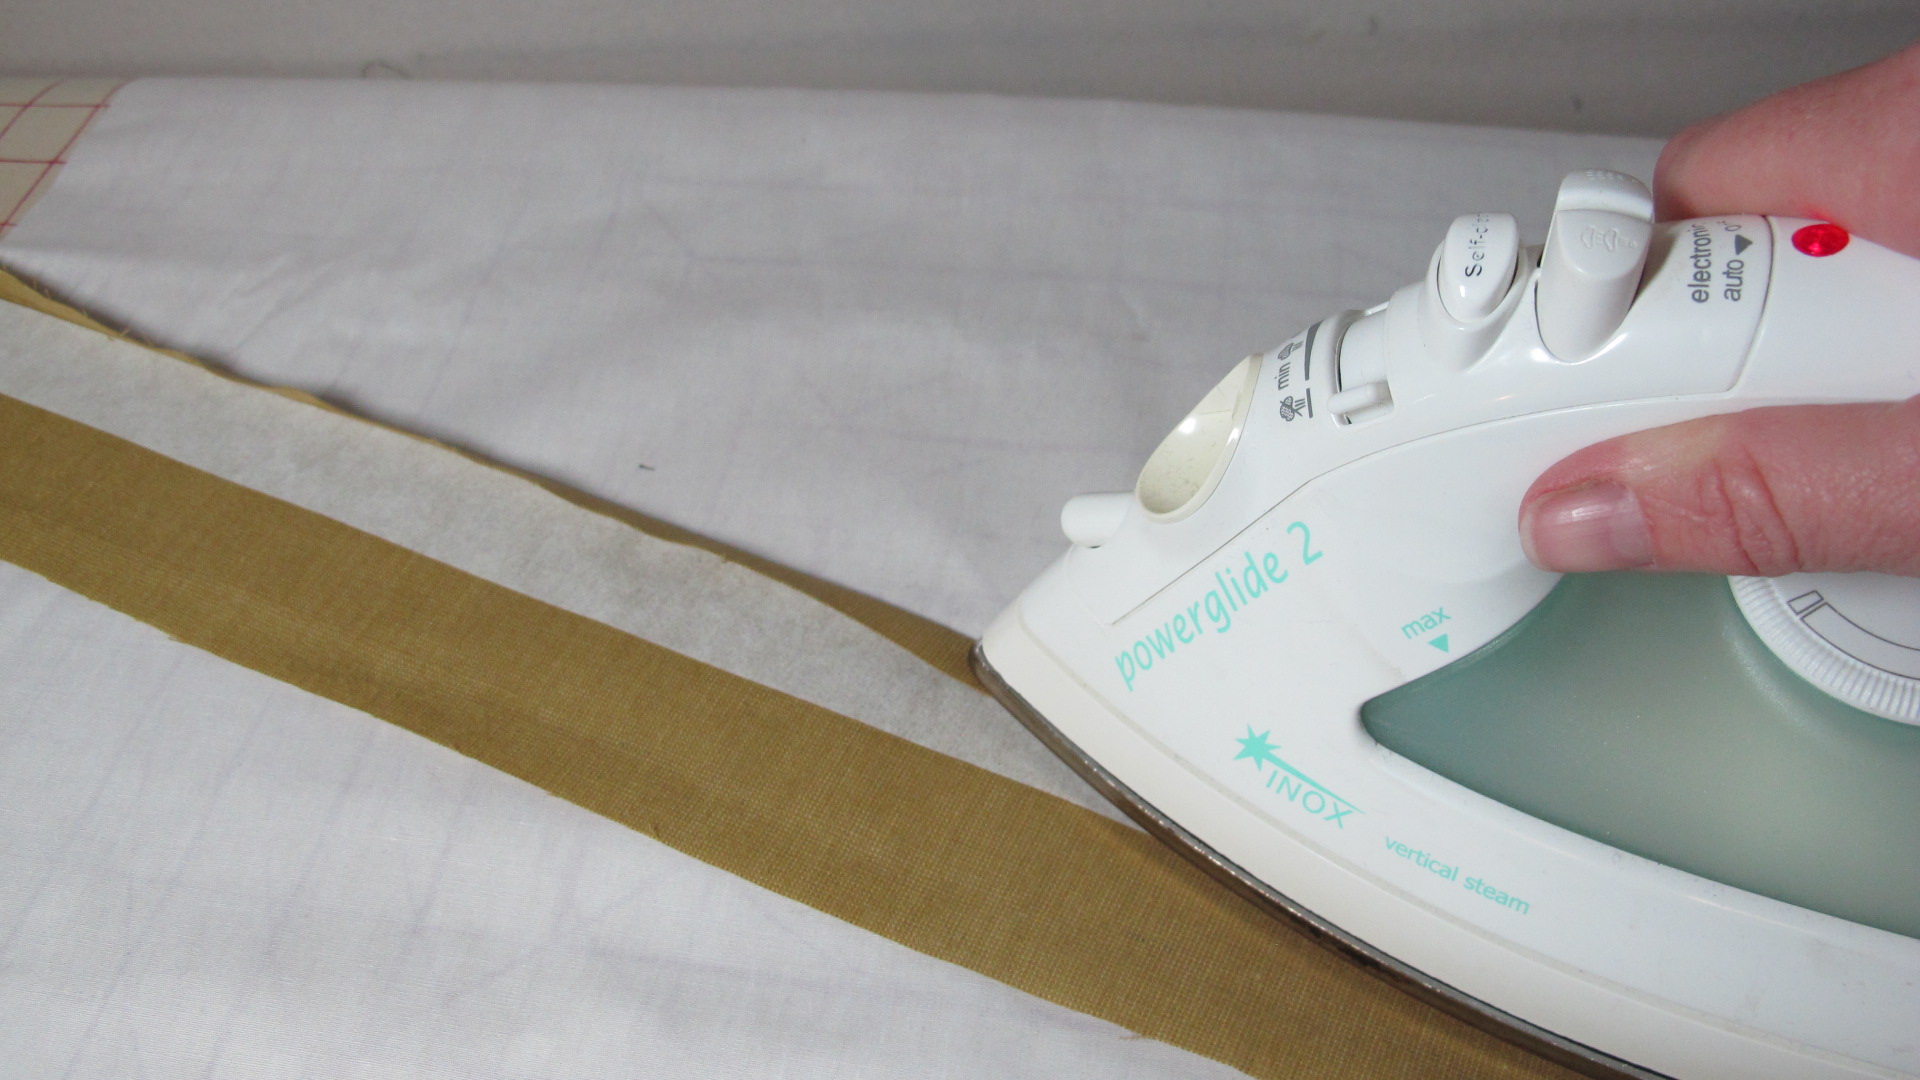
Place your pattern fabric on top of the silver iron board fabric and pin through all layers. Use a walking foot to stitch on the pattern through all layers. Work from the center out as much as possible. Remember, the solid black lines are the stitching lines. The dotted lines on the pattern are there to help with measuring.
Step # 2
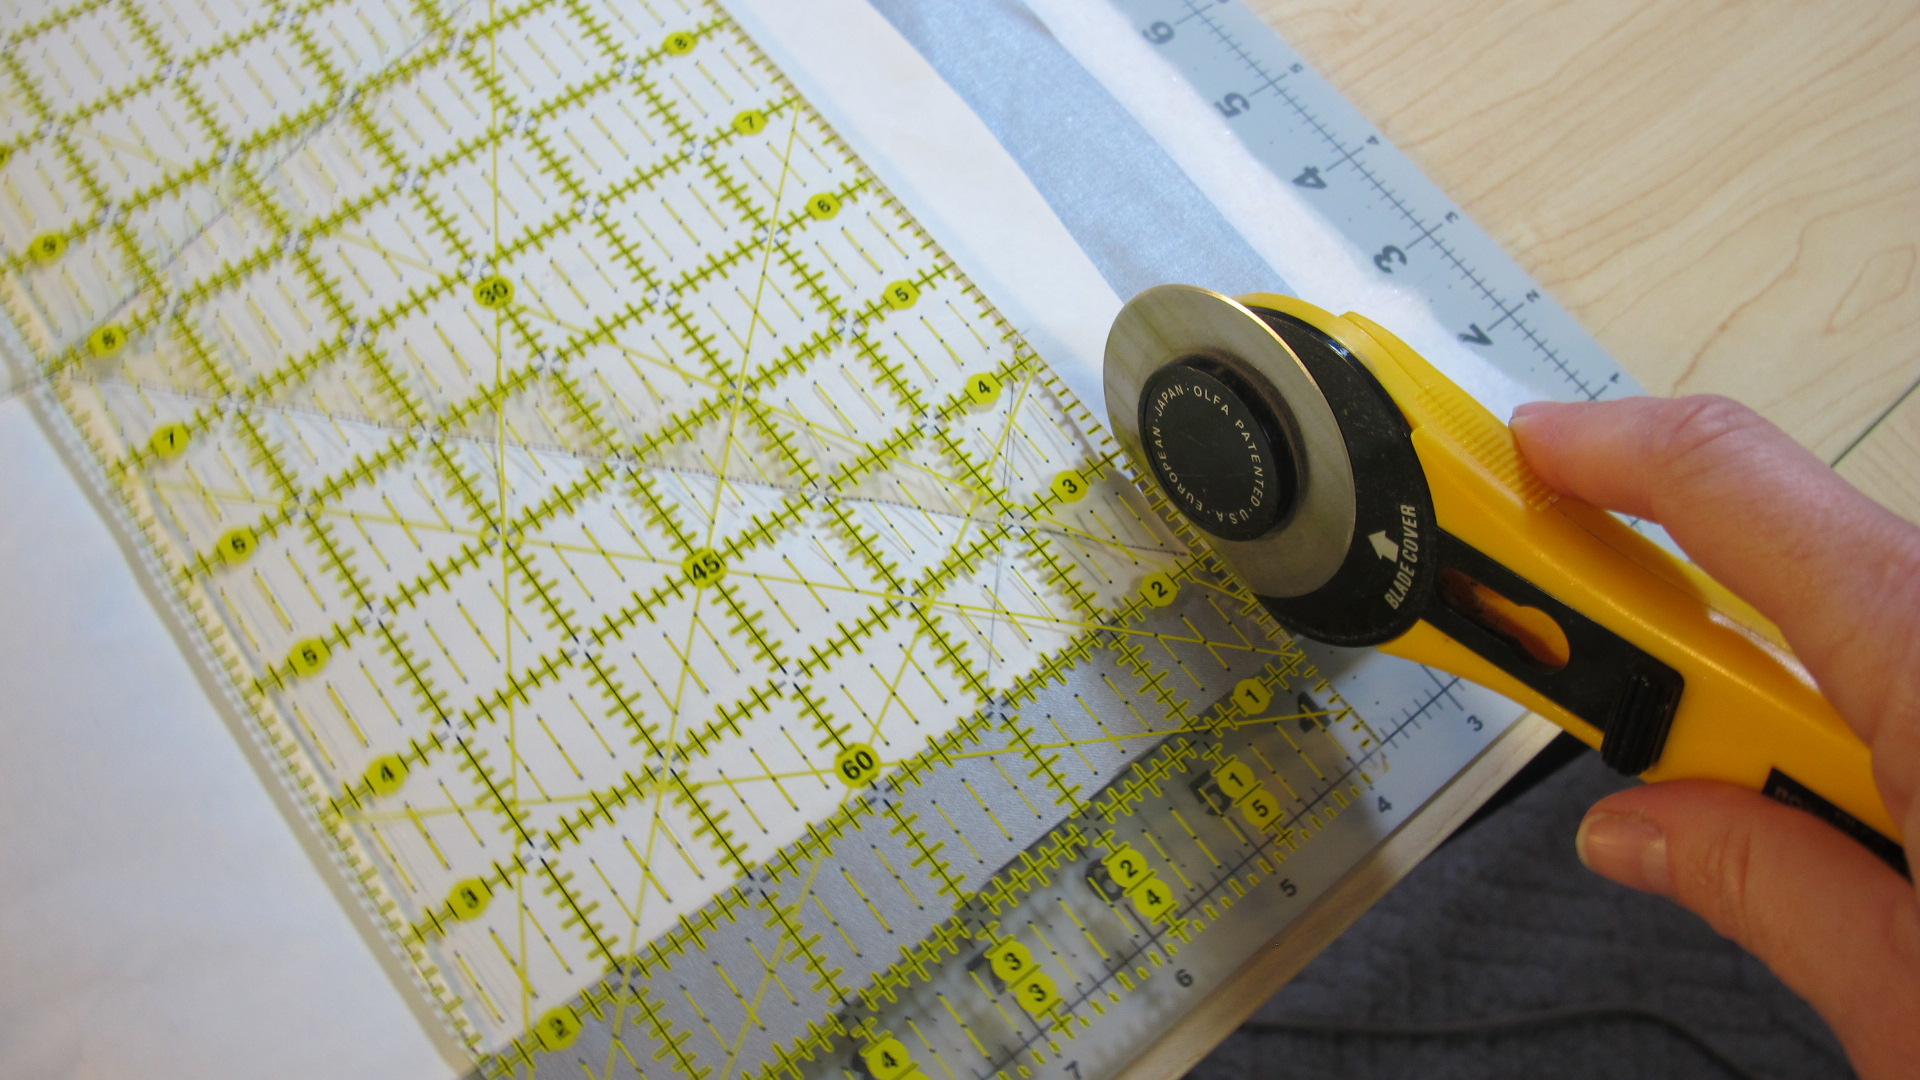
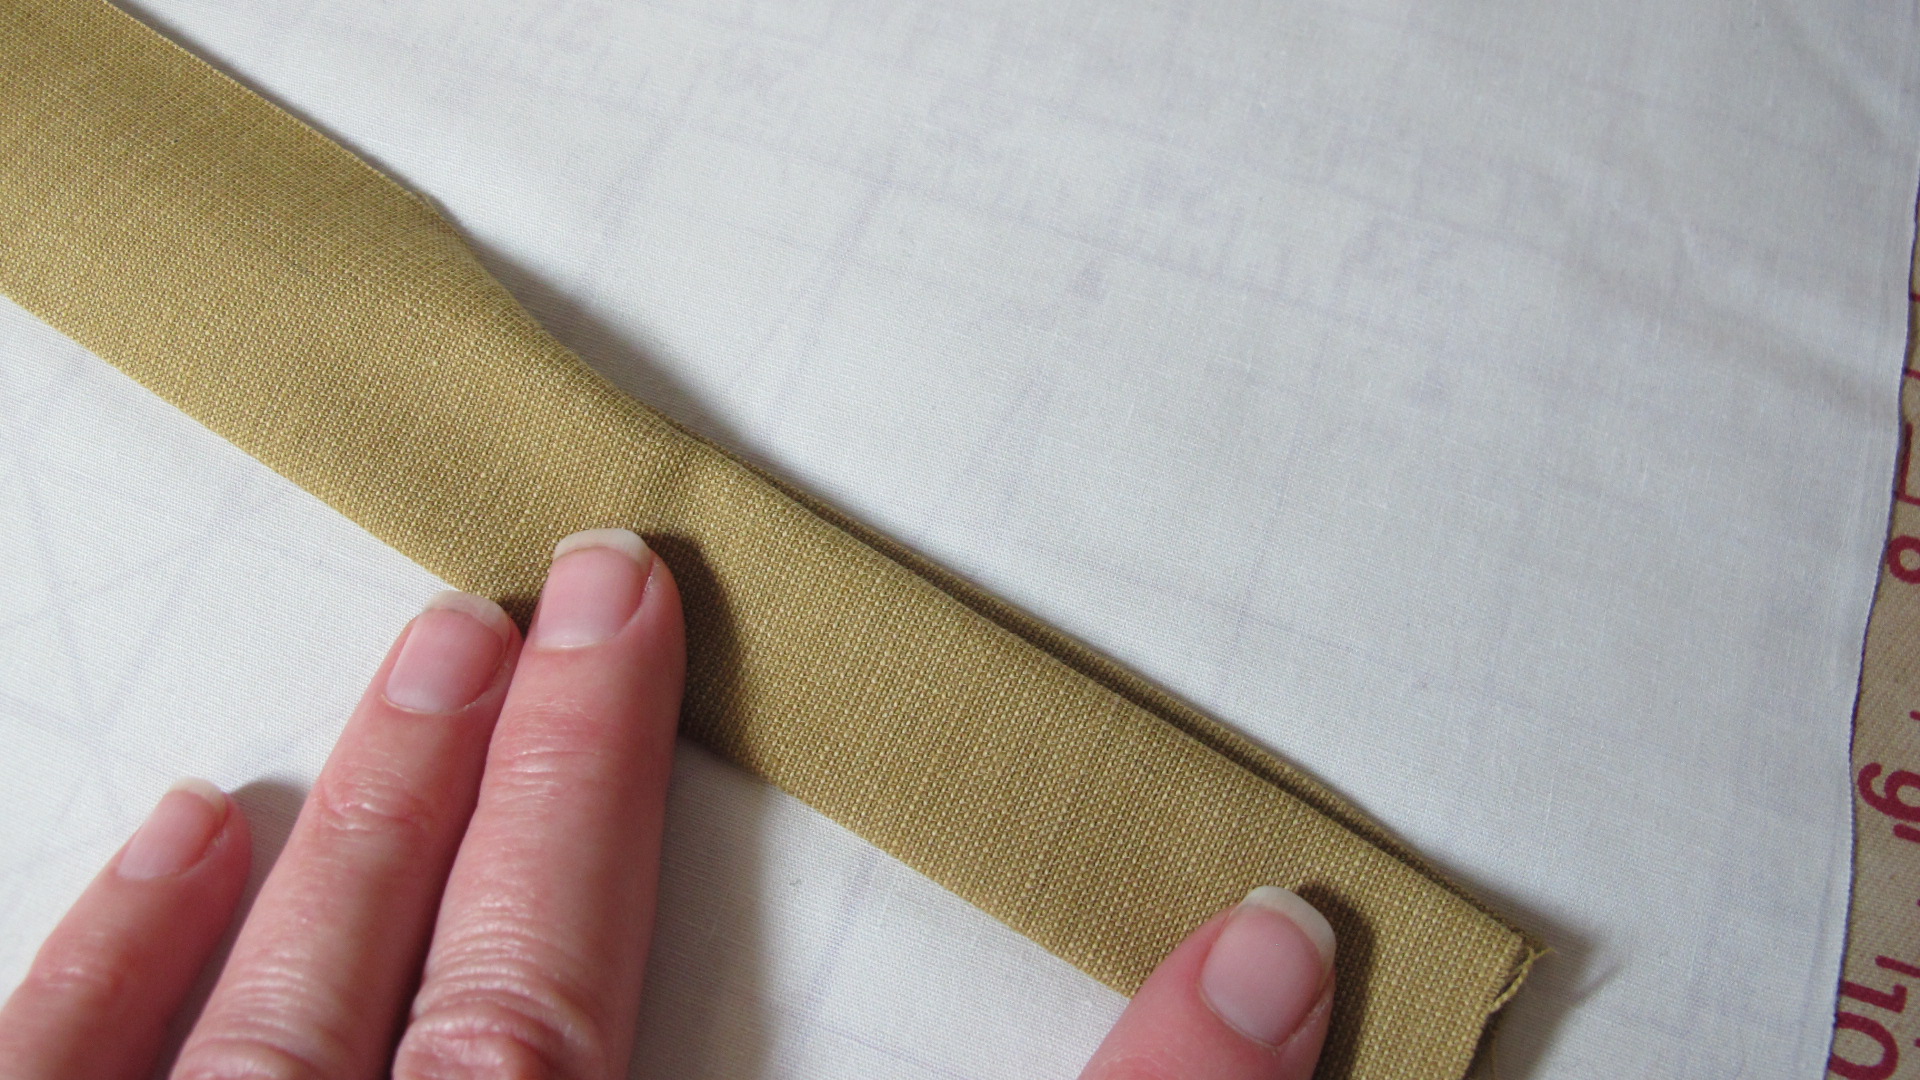
Square up your pad/tote by using a rotary cutter and ruler to trim the outside lines, (indicated in red on the pattern.) We found it easiest to trim the corners first.
Step # 3
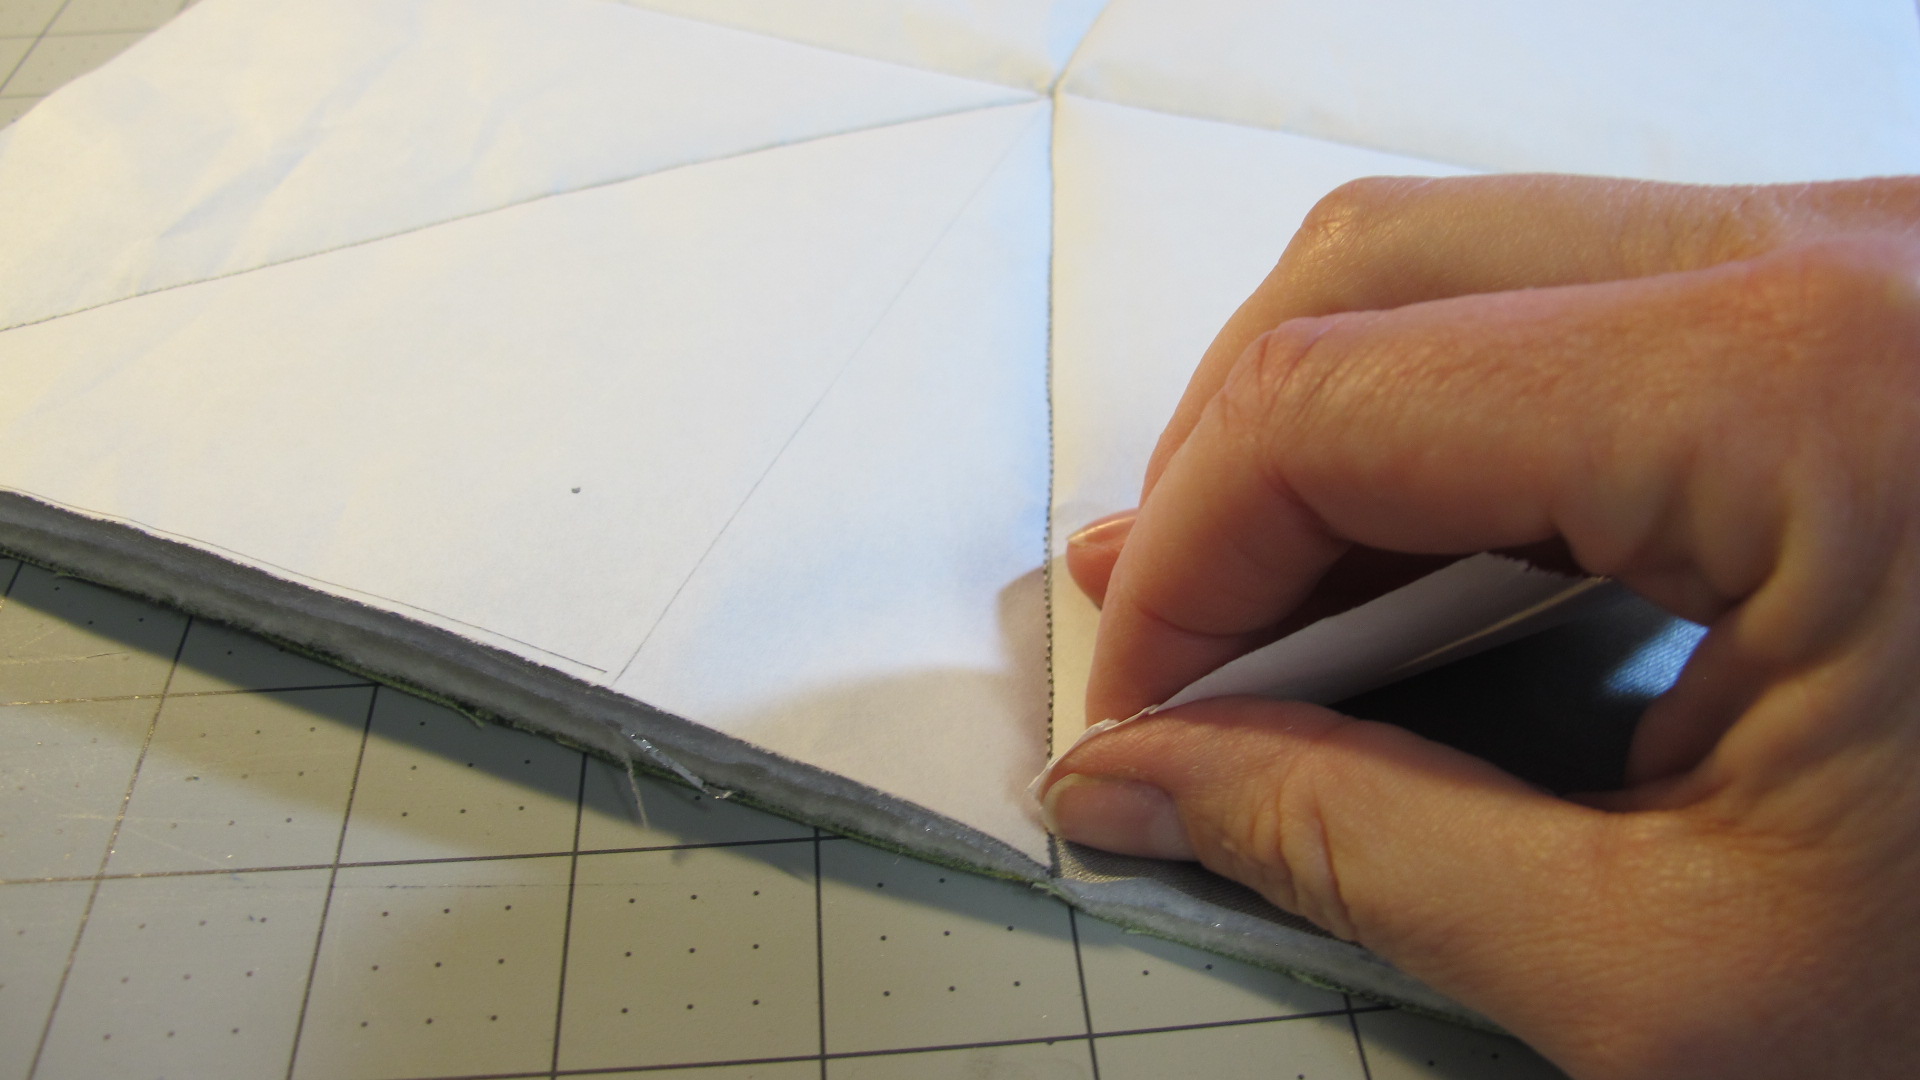
Tear off the pattern, being careful not to loosen your stitching.
Step #4
Set aside your layered pad/tote while you made handles and ties. For the handles, position (1) piece of stabilizer ¼” from the edge of (1) 3” x 21” strip of contrast fabric. Fold the ¼” extra over the stabilizer and press.
Press the remaining fabric tight to the stabilizer. Turn the strip and press the remaining raw edge under even with the edge of the handle.
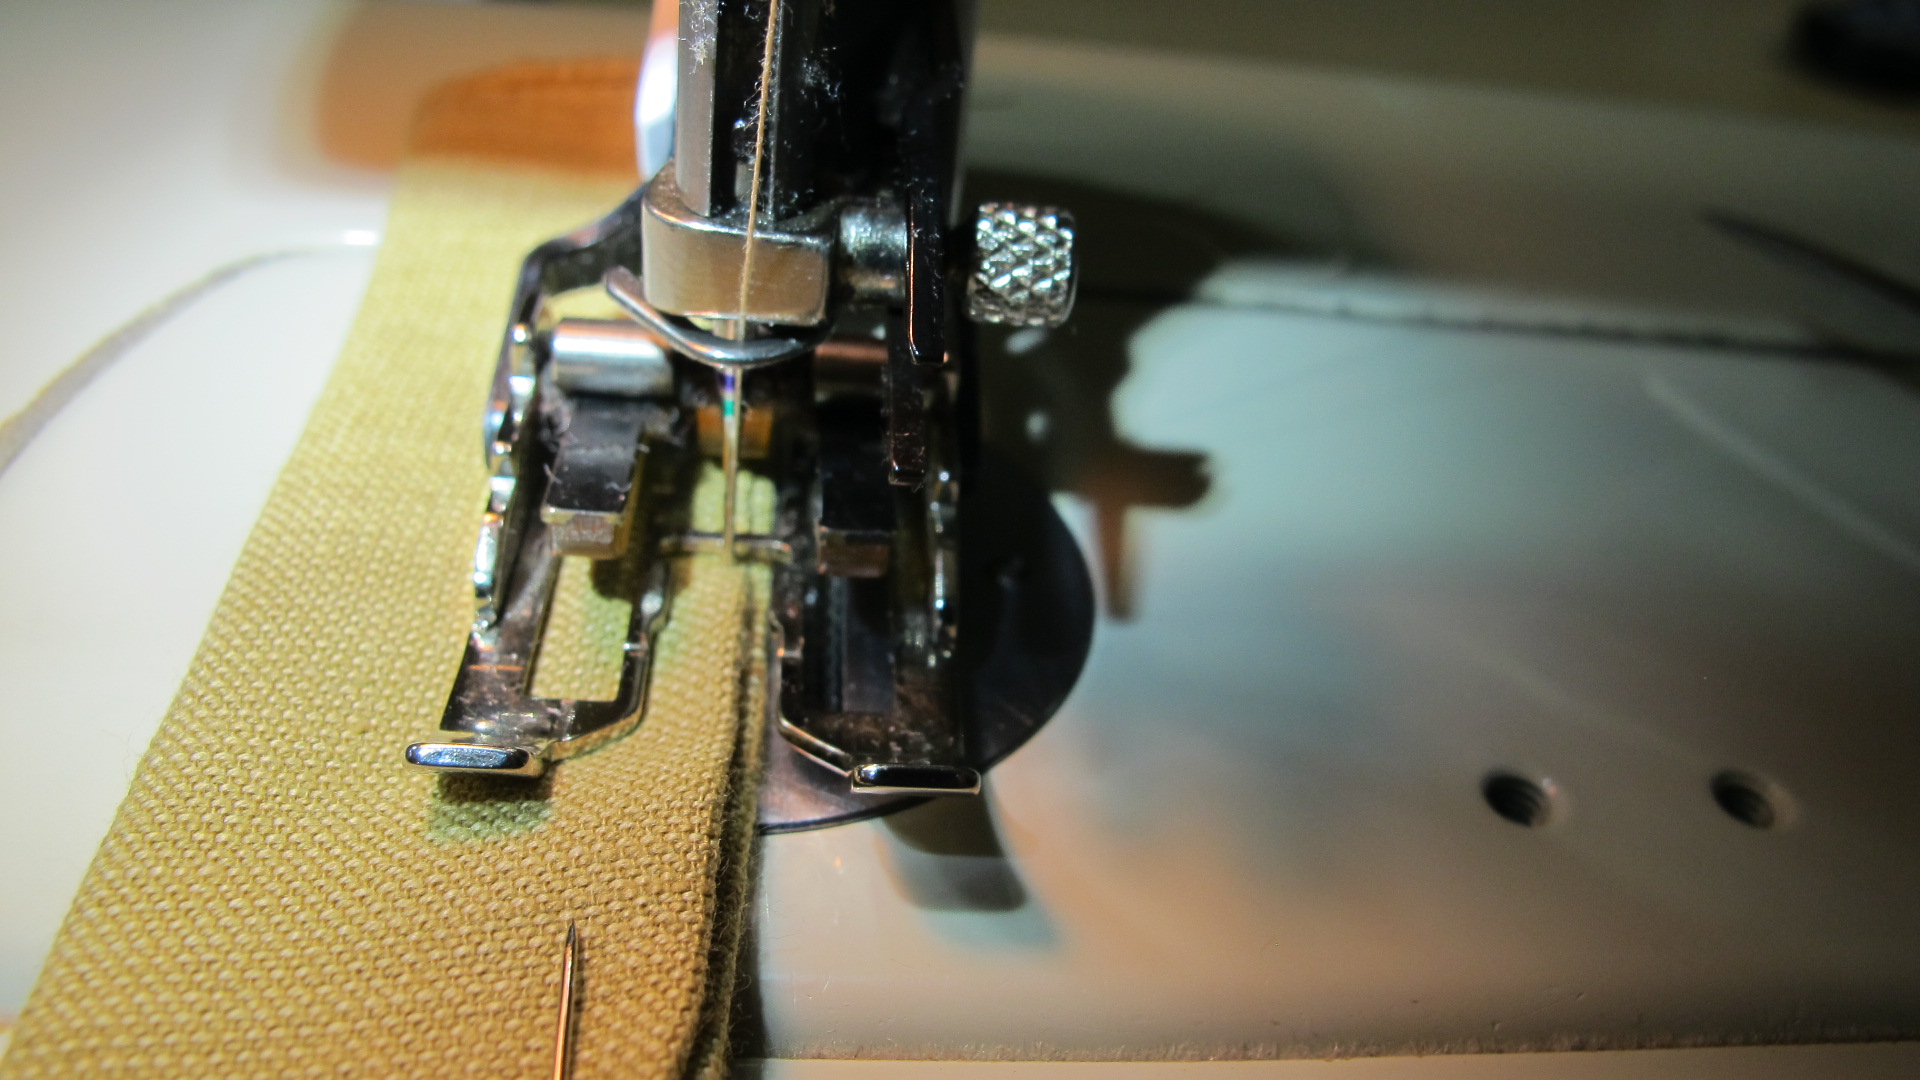
Stitch in place close to the edge of the handle. Repeat for the second handle.
Step # 5
For the ties and loops, press (1) 1 ¼” strip of contrast fabric in half lengthwise. Open and fold one raw edge into the center fold and press. Fold the other raw edge into the center fold and press. Stitch closed near the open edge. Repeat on the other 1 ¼” strip.
From each strip, cut (2) 4” pieces off the end of each strip, then cut the remaining strips in half. You will have (4) small pieces for loops and (4) longer pieces for ties. Knot one end of each of the (4) longer ties. (Later, you will stitch the untied end of each tie to the pad/tote.)
Step # 6
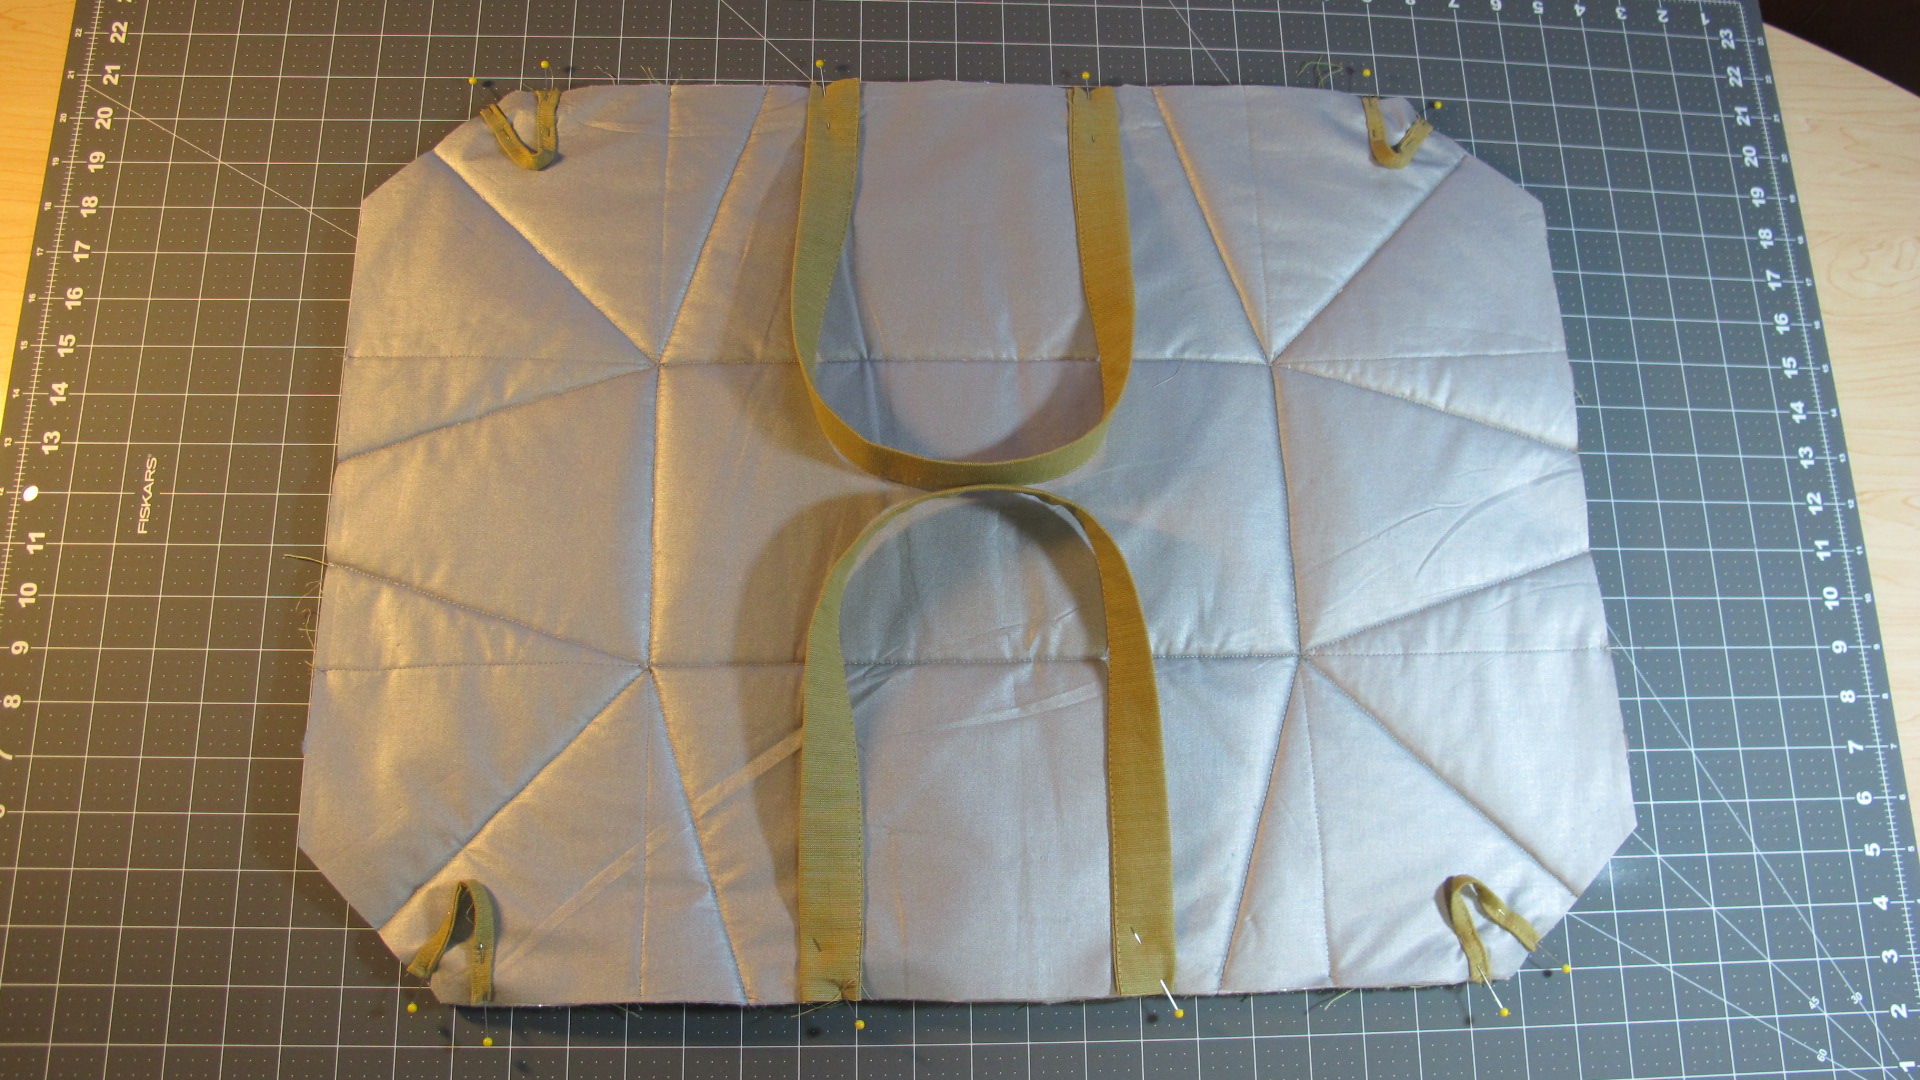
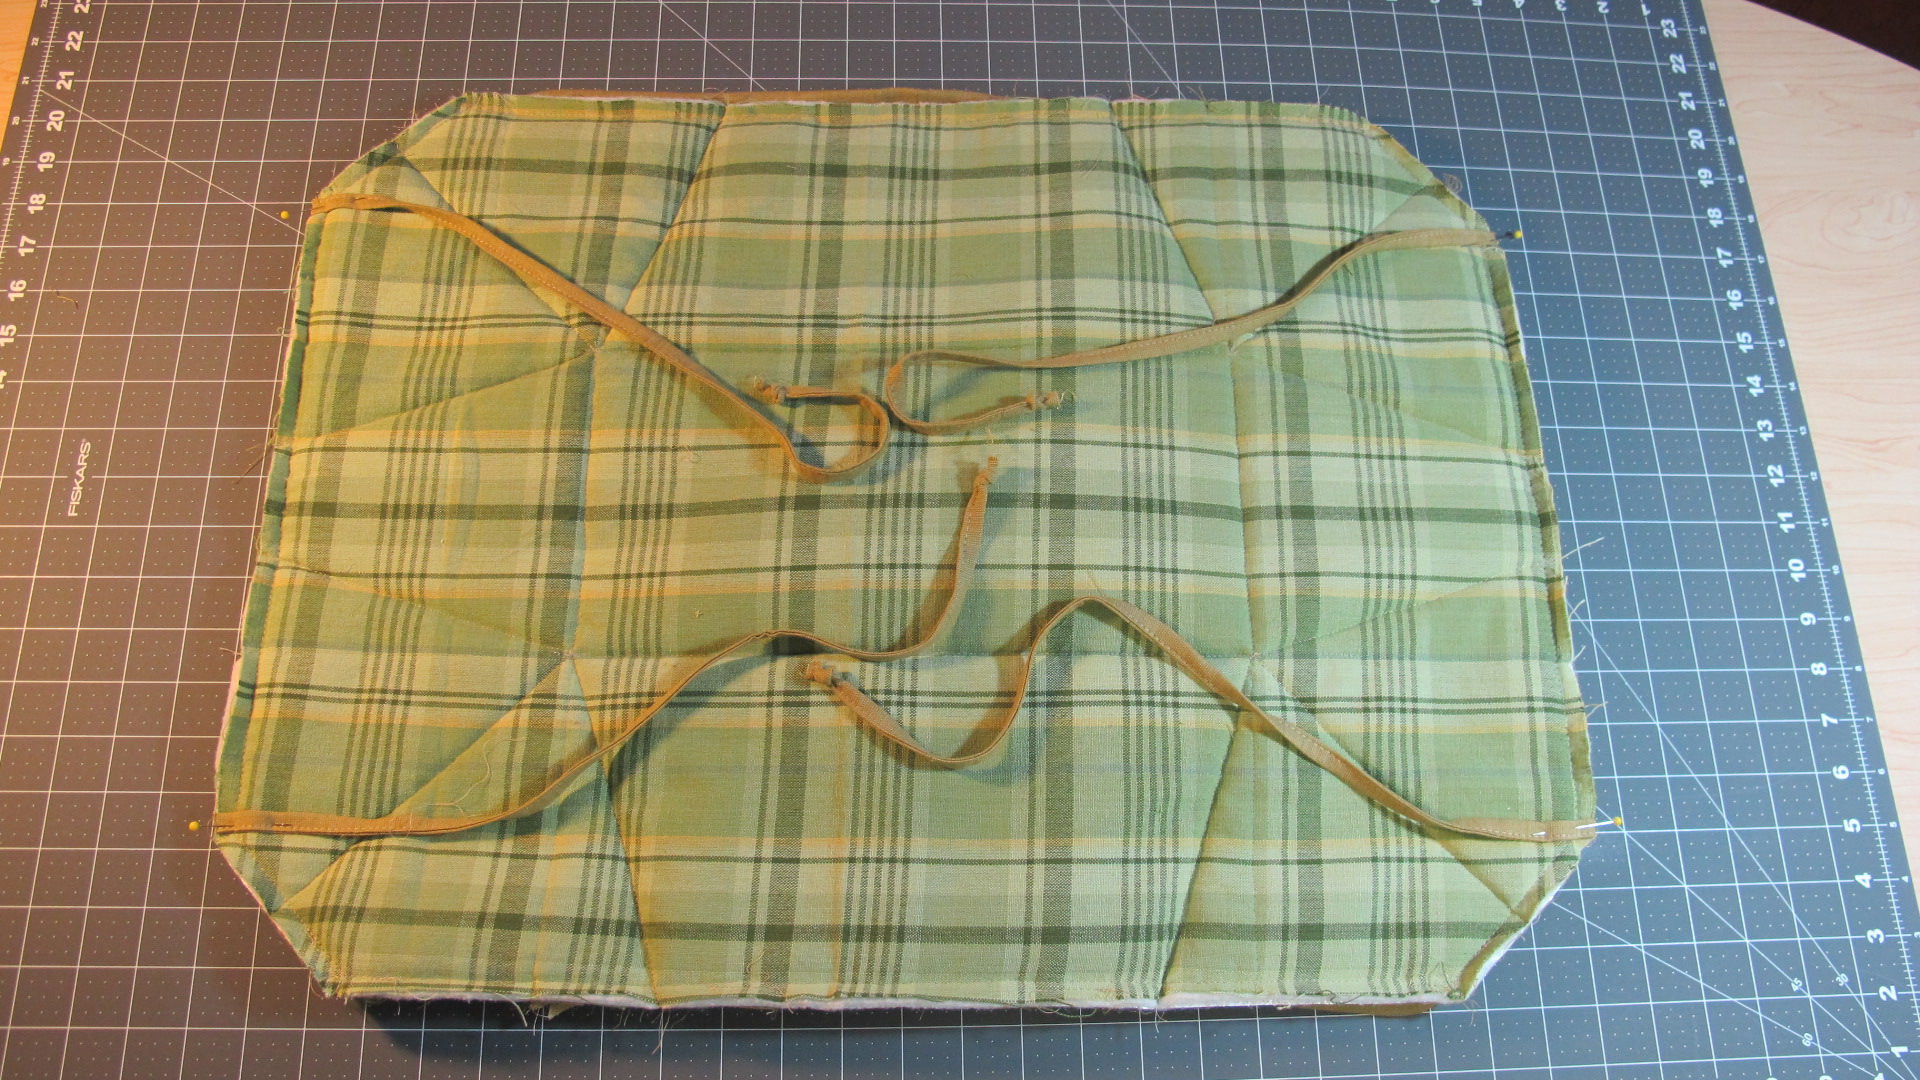
Position straps 1″ or less from stitched line on long side of the pad as shown, and stitch down 1/4″ from the edge. Position loops as shown, about 1/2″ from the point on the long side of the pad as shown, and stitch down 1/4″ from the edge.
Step # 7
From constrast fabric, cut binding strips your preferred width. Be careful not to catch handles or loops in your stitching. (We used Susie’s Magic Binding Method, which you can find in the app under Resources/Tips, References & Tools/Library.)
Step # 8
Before turning binding, stitch ties to the outside of the pad on the short sides at the points, as shown below. Turn binding and stitch down, being careful not to catch any of the handles, loops or ties in your stitching.
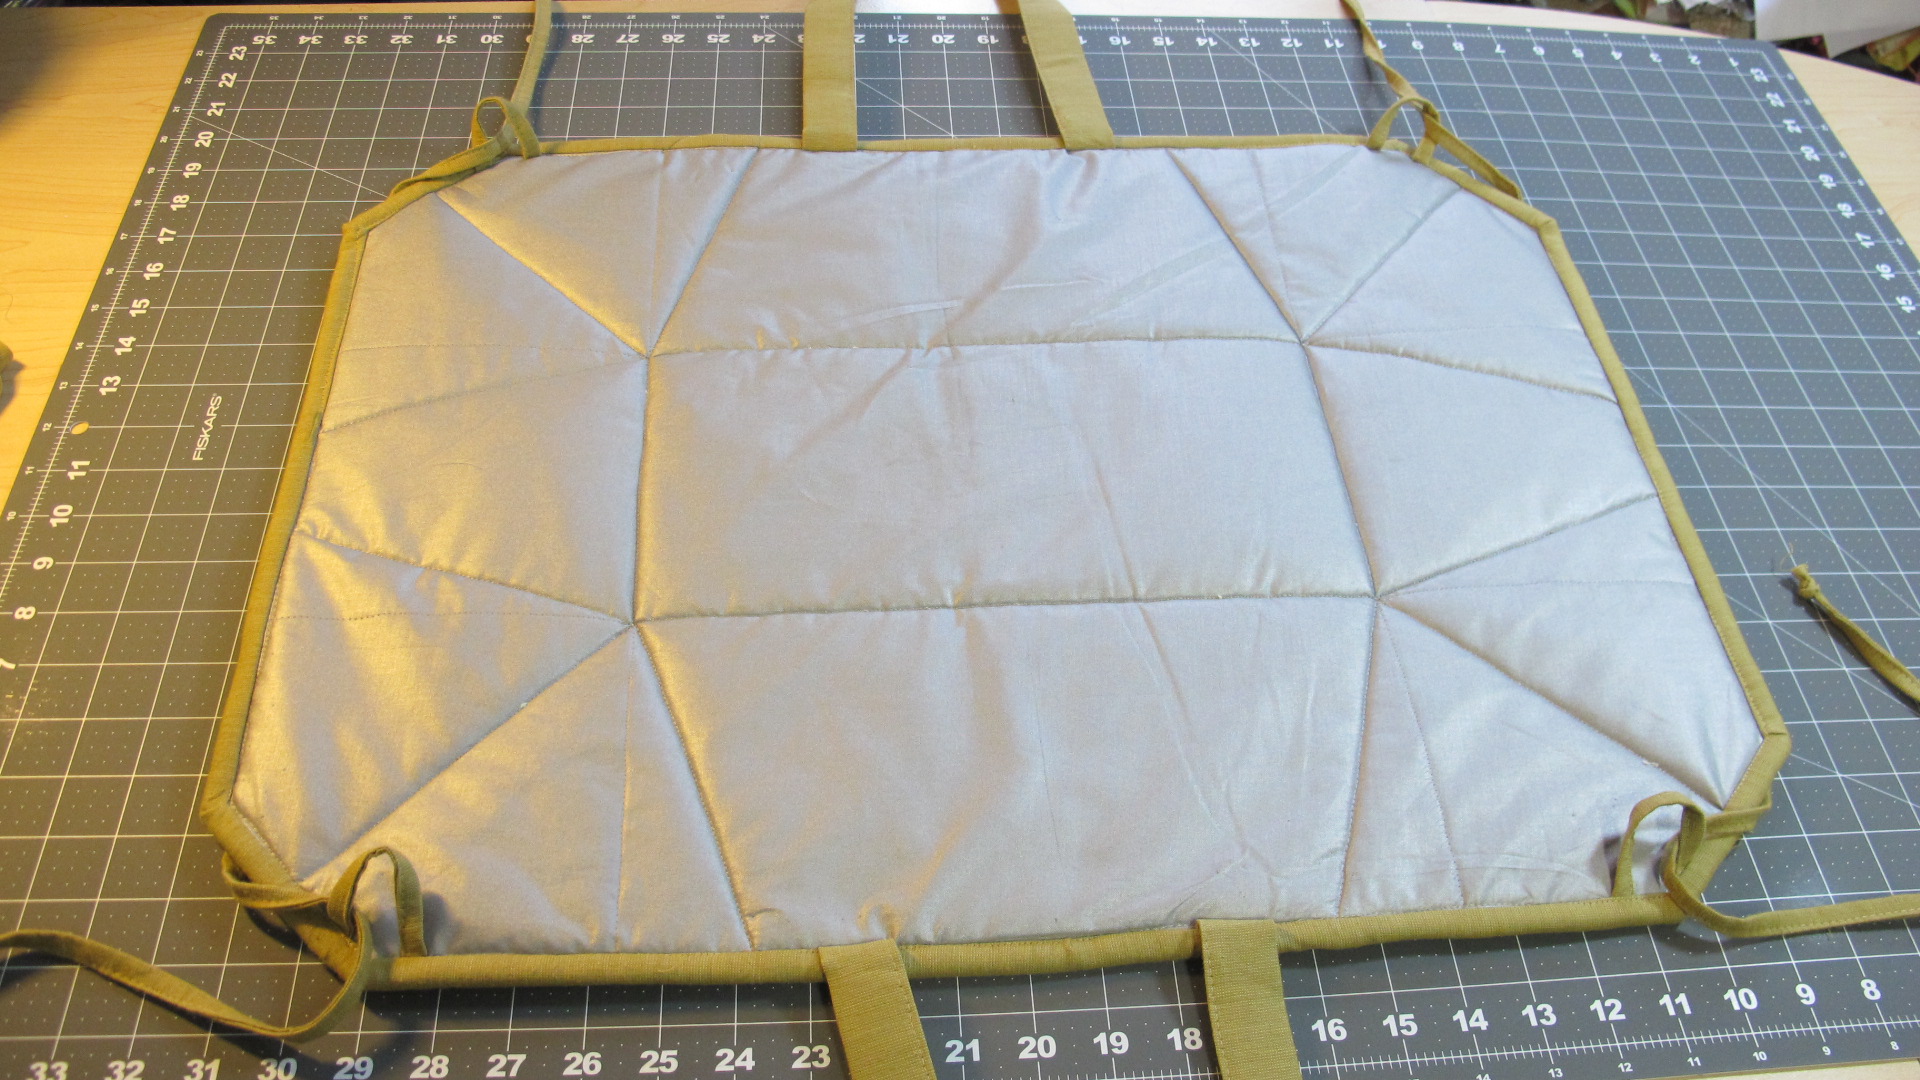
And, there you have your ironing pad.
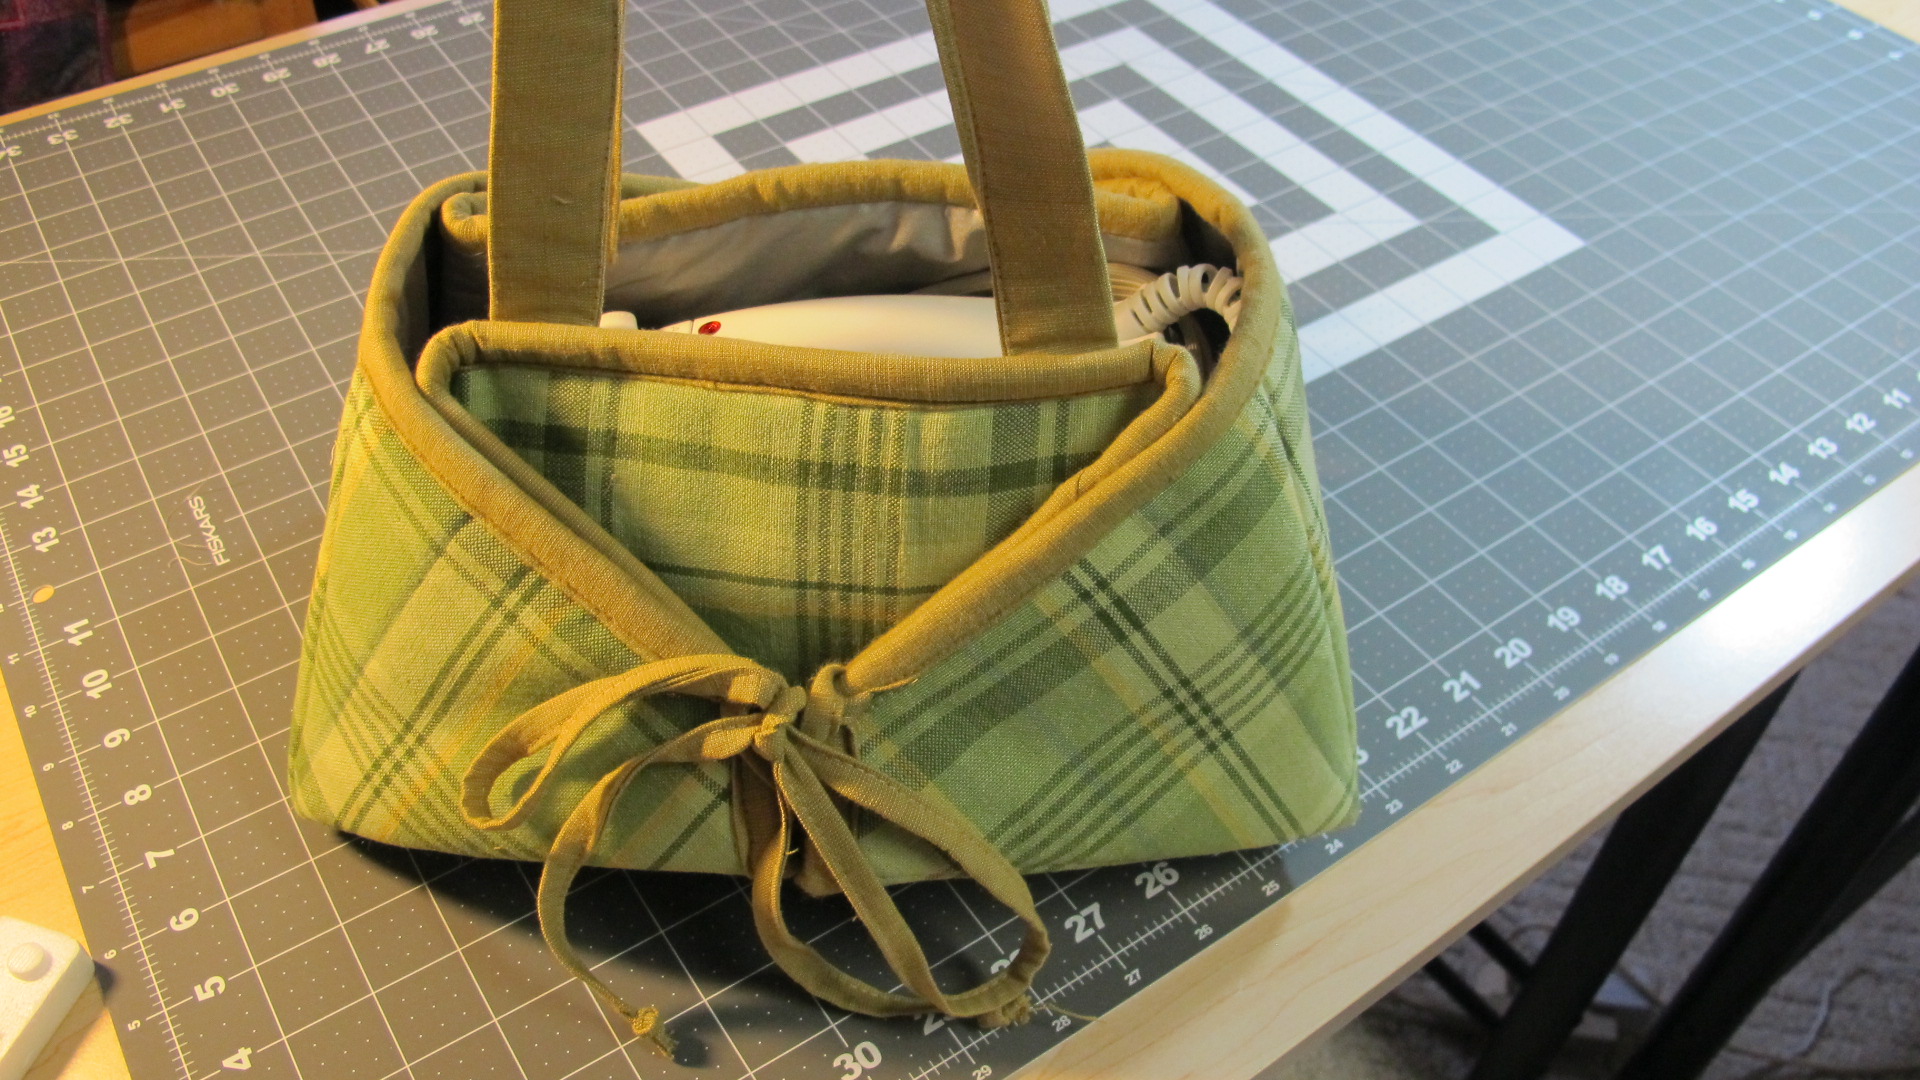
For your iron tote, slip the ties through the loops, fold up and tie.
Note: When laundering your pad/tote, wash on a delicate cycle with cold water with no chlorine beach and then tumble dry low.
Live Well. Quilt Well.