In this blog piece I will walk you through the journey of creating my very first quilt and the decisions and thought process that went into making it. This first post will discuss the process of quilt shopping and picking out fabrics for a simple strip quilt design that is easy for beginner’s (like me) to make.
I first had to consider what colors would work with what my apartment theme is currently. My apartment is modern with all white furniture from Ikea and light hardwood floors with white walls. So I knew I wanted my quilt to have bright colors in it because it would stick out and help add character to my living room. I spent some time before going to the quilt shop brain storming ideas of what my quilt would look like.
When I got to the quilt shop I started looking at all the fabrics. At one point I just decided on one color I knew I wanted in my quilt that I liked. That color was a light lime green. I also knew that I wanted the fabric to have some kind of simplistic modern pattern in it such as dots or swirls. Once I found the green fabric with white swirls in it, I noticed that there were other fabrics that were the same but just different colors sitting next to it on the shelf.
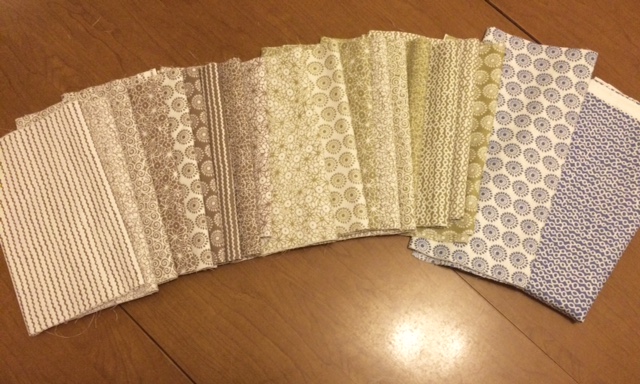
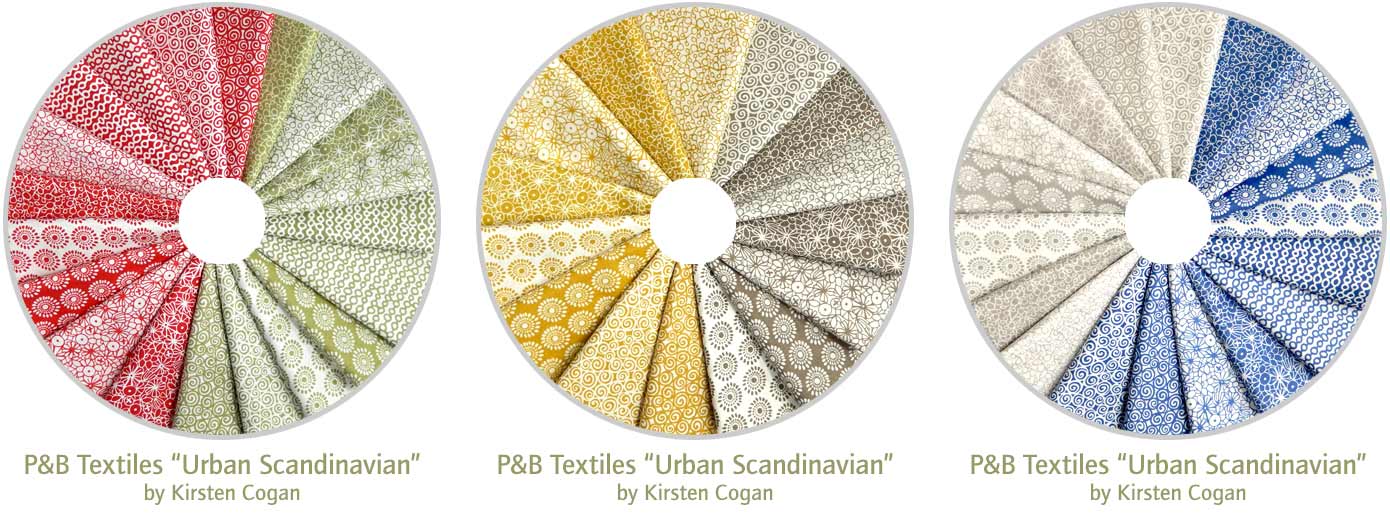
The fabrics shown in the image below are P&B Textiles “Urban Scandinavian” by Kristen Cogan. I purchased this fabric at Patched Works, a local quilting shop in Brookfield, WI. This quilting shop has a wide variety of fabrics to choose from which made it incredibly fun but also incredibly daunting to find the right fabric for this quilt.
In the images below you can see that I picked fabrics that are from the same family. The three colors I chose to work with were light green, blue and tan brown. I picked nine tan brown fabrics and nine green fabrics and then two light blue fabrics. All of the fabrics have white in them which I wanted so that it would still have white space for the eyes to focus on without getting distracted by all of the different patterns in the fabric that I chose. The color wheels in the image below show the fabrics that I chose that are grouped together by the manufacture showing the fabric collection. The green, blue and tan brown colors that I chose are an analogous color scheme, a perfect choice for my first quilt design. For more on color schemes, see Color Basics – Part 2 in the Group Project Library.
Tips:
- If you have a hard time picking out fabric for the quilt ask a professional working at the quilt shop or grab a color wheel to help you find colors that will complement each other.
- Find a multi-colored fabric that you like and choose solids or tone-on-tone fabrics that match. Select fabrics from the same collection and match them by value to the pattern you’re making.
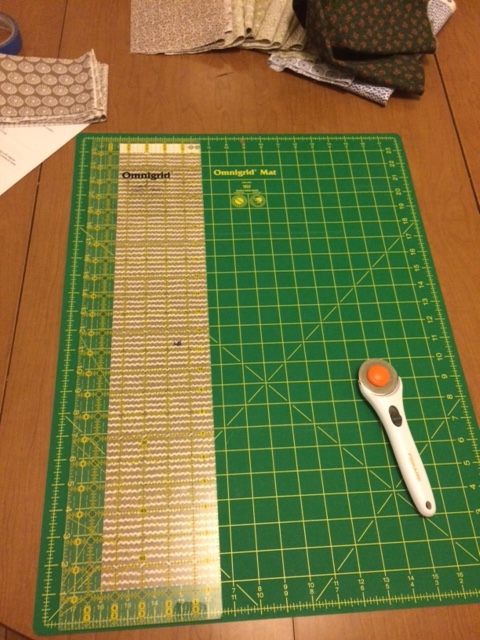
Now once I picked out the fabrics that I wanted I went to go checkout. The people at the quilt shop took my fabric to a long table and started cutting it for me.
I used 4.5″ strips, and some extra for squaring up the fabric. I learned that the width is determined by the manufacturer and is usually between 40 and 44 inches. The width of the fabric is the distance from selvage-to-selvage which are the edges woven in the manufacturing process to keep them from fraying. The width of the fabric used in the image above was 43″. So the strip of this quilt is approximately 44″ x 4 1/2″.
Tip: If you are a beginner it is smart to get a little extra fabric than needed just in case you make a mistake when cutting.

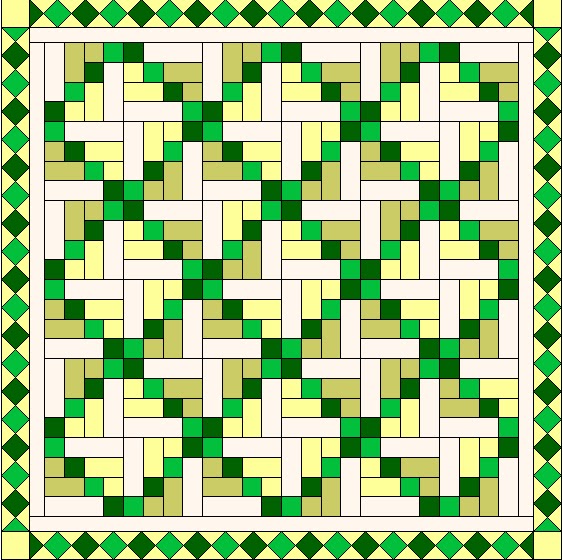
Drawing of the finished quilt
The next step after buying my fabric was to start cutting. Stay tuned for the next blog piece on how to properly cut fabric for this simple strip quilt. In the second blog piece I will also talk about how to accurately square up your fabric and how to be safe when using a rotary cutter as well.
Live Well. Quilt Well.